Single Sign-On, JWT Authentication, and React

Fast learner, innovative, curious, highly motivated with a 'can-do' approach.
I enjoy challenges and I thrive where there are technical questions that need to be answered.
In this series of posts, we create a secured end-to-end JWT-based authentication mechanism using NodeJS, Express, PassportJS, and React.
In this series I cover:
- Part 1: Background and Backend using NodeJS
- Part 2: React & JWT Authentication
- Part 3: Single Sign-On, JWT, and NodeJS
- Part 4: Single Sign-On, JWT, and React (This post)
In part 3, we enhanced our backend's authentication logic with SSO support. In this last part, we finish our journey by adding client-side support in SSO, using React.
If you haven't read the previous parts, I strongly encourage you to do so before proceeding with this part, as it contains an important background that will help you grasp the concepts we use here.
Our strategy
As you probably already know, when using SSO, some of the flow takes place on the provider's side. Obviously, we have little to no control there. Although we can't do much about it, we still have full control over our client-side. Therefore, we must do whatever we can to provide our users with a good experience on our end. Ideally, the users shouldn't feel like they've left our application in the process. All of that might sound a little bit tricky, but worry not! We have some tricks up our sleeve 😉
To clarify things up, let's start by describing the steps we follow in this part:
- The user visits our login or signup page, and chooses to authenticate via SSO
- We let our backend know which authentication strategy the user chose by calling the
/auth/${providerName}endpoint - When the backend redirects the user to the provider's login page, we open a new popup-like window, for completing the authentication process on the provider's side
- Upon successful login, the backend redirects the user back to the UI, with a refresh token cookie. We close the popup and let our app know that we have a new refresh token
- We call the
/refresh-tokenendpoint to get a new access token and redirects the user to the homepage of our application
Let's code
The login component
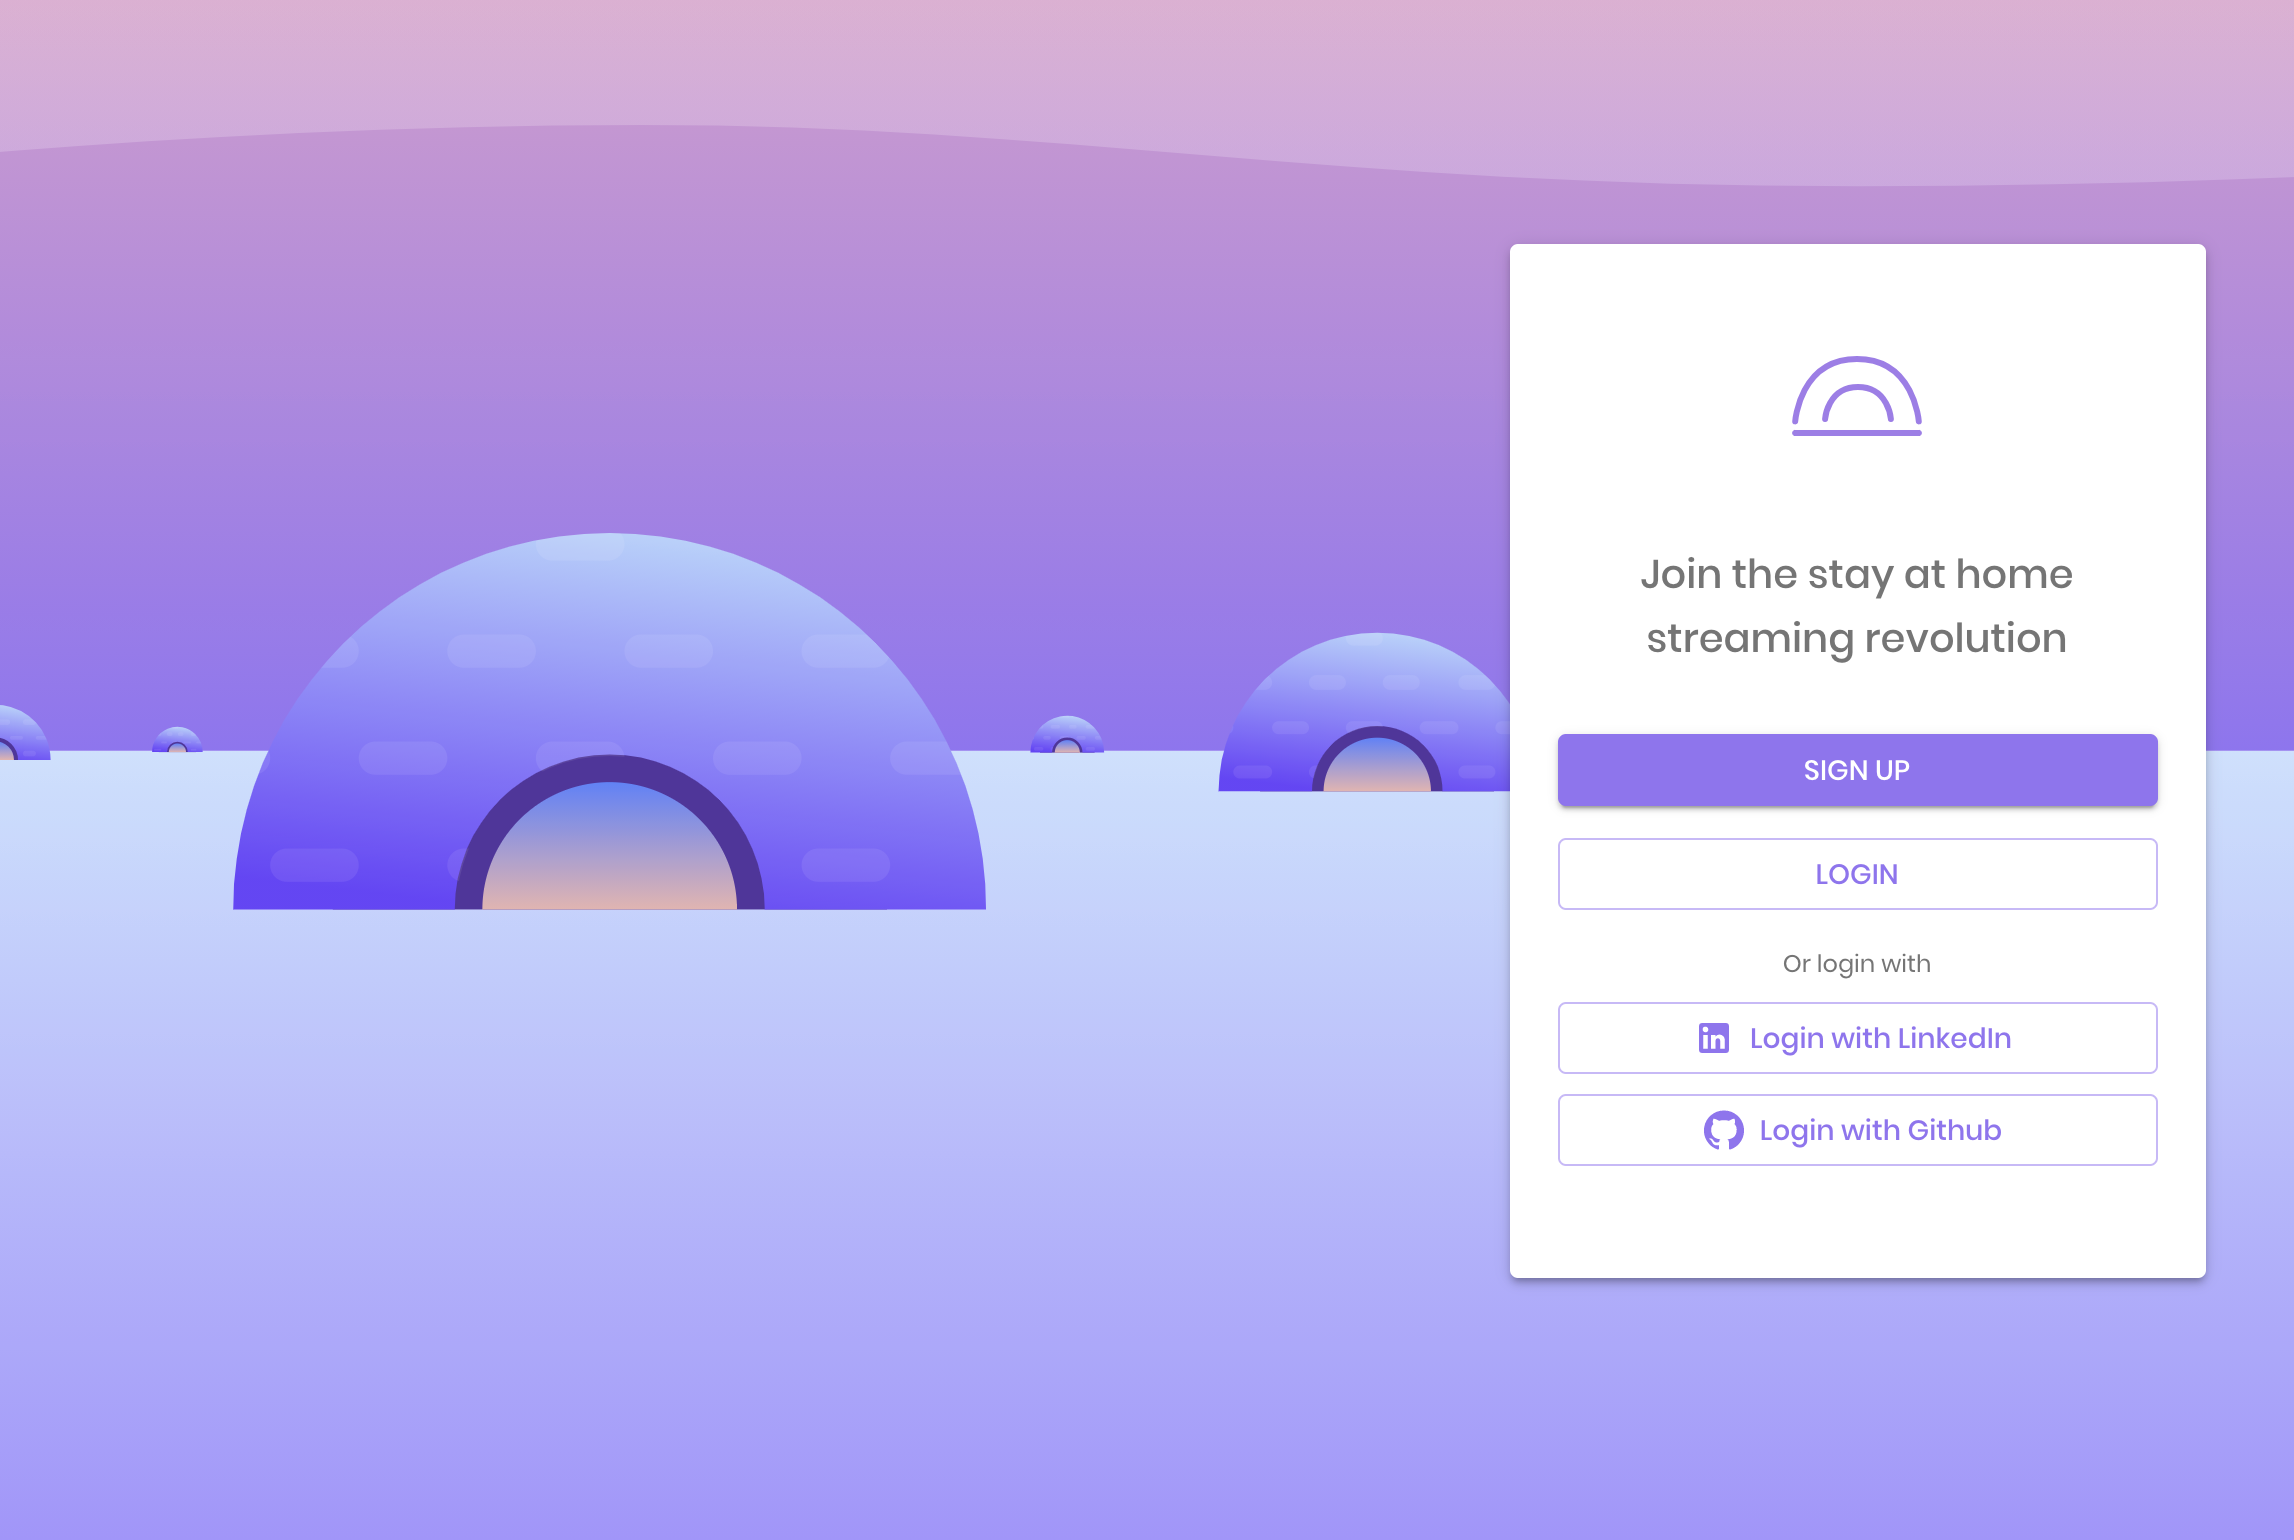
We start by creating a tiny component that renders a button for each provider we support. To make things simple, I hold the supportedSocialLoginTypes in an array on the client-side, but you can (and should!) move that to the backend and expose it by the API, so when adding a new SSO provider, the UI will react to it automatically.
import React from 'react';
import { Box, createStyles, makeStyles, Theme } from '@material-ui/core';
import Typography from '@material-ui/core/Typography';
import Button from '@material-ui/core/Button';
import LinkedInIcon from '@material-ui/icons/LinkedIn';
import GitHubIcon from '@material-ui/icons/GitHub';
import { openCenteredPopup } from '../../services/nativePopup';

const useStyles = makeStyles((theme: Theme) =>
  createStyles({
    loginWithText: {
      marginBottom: theme.spacing(4),
    },
    socialLoginButton: {
      textTransform: 'none',
      marginTop: 10,
    },
  }),
);

const supportedSocialLoginTypes = [
  { name: 'LinkedIn', icon: LinkedInIcon },
  { name: 'Github', icon: GitHubIcon },
];

export default function LoginWithSSO() {
  const { loginWithText, socialLoginButton } = useStyles();

  const handleSocialLoginSubmit = async (provider: string) => {
    openCenteredPopup(`${SERVER_URI}/api/auth/${provider.toLowerCase()}`, `login with ${provider}`, 500, 500);
  };

  return (
    <Box mt={2} width={'100%'}>
      <Typography className={loginWithText} variant="caption" color="textSecondary" align="center">
        Or login with
      </Typography>
      {supportedSocialLoginTypes.map(({ name, icon: Icon }) => (
        <Button
          key={name}
          startIcon={<Icon />}
          className={socialLoginButton}
          variant={'outlined'}
          color={'primary'}
          onClick={() => handleSocialLoginSubmit(name)}
          fullWidth
        >
          {`Login with ${name}`}
        </Button>
      ))}
    </Box>
  );
}
Open the provider's login page in a new window
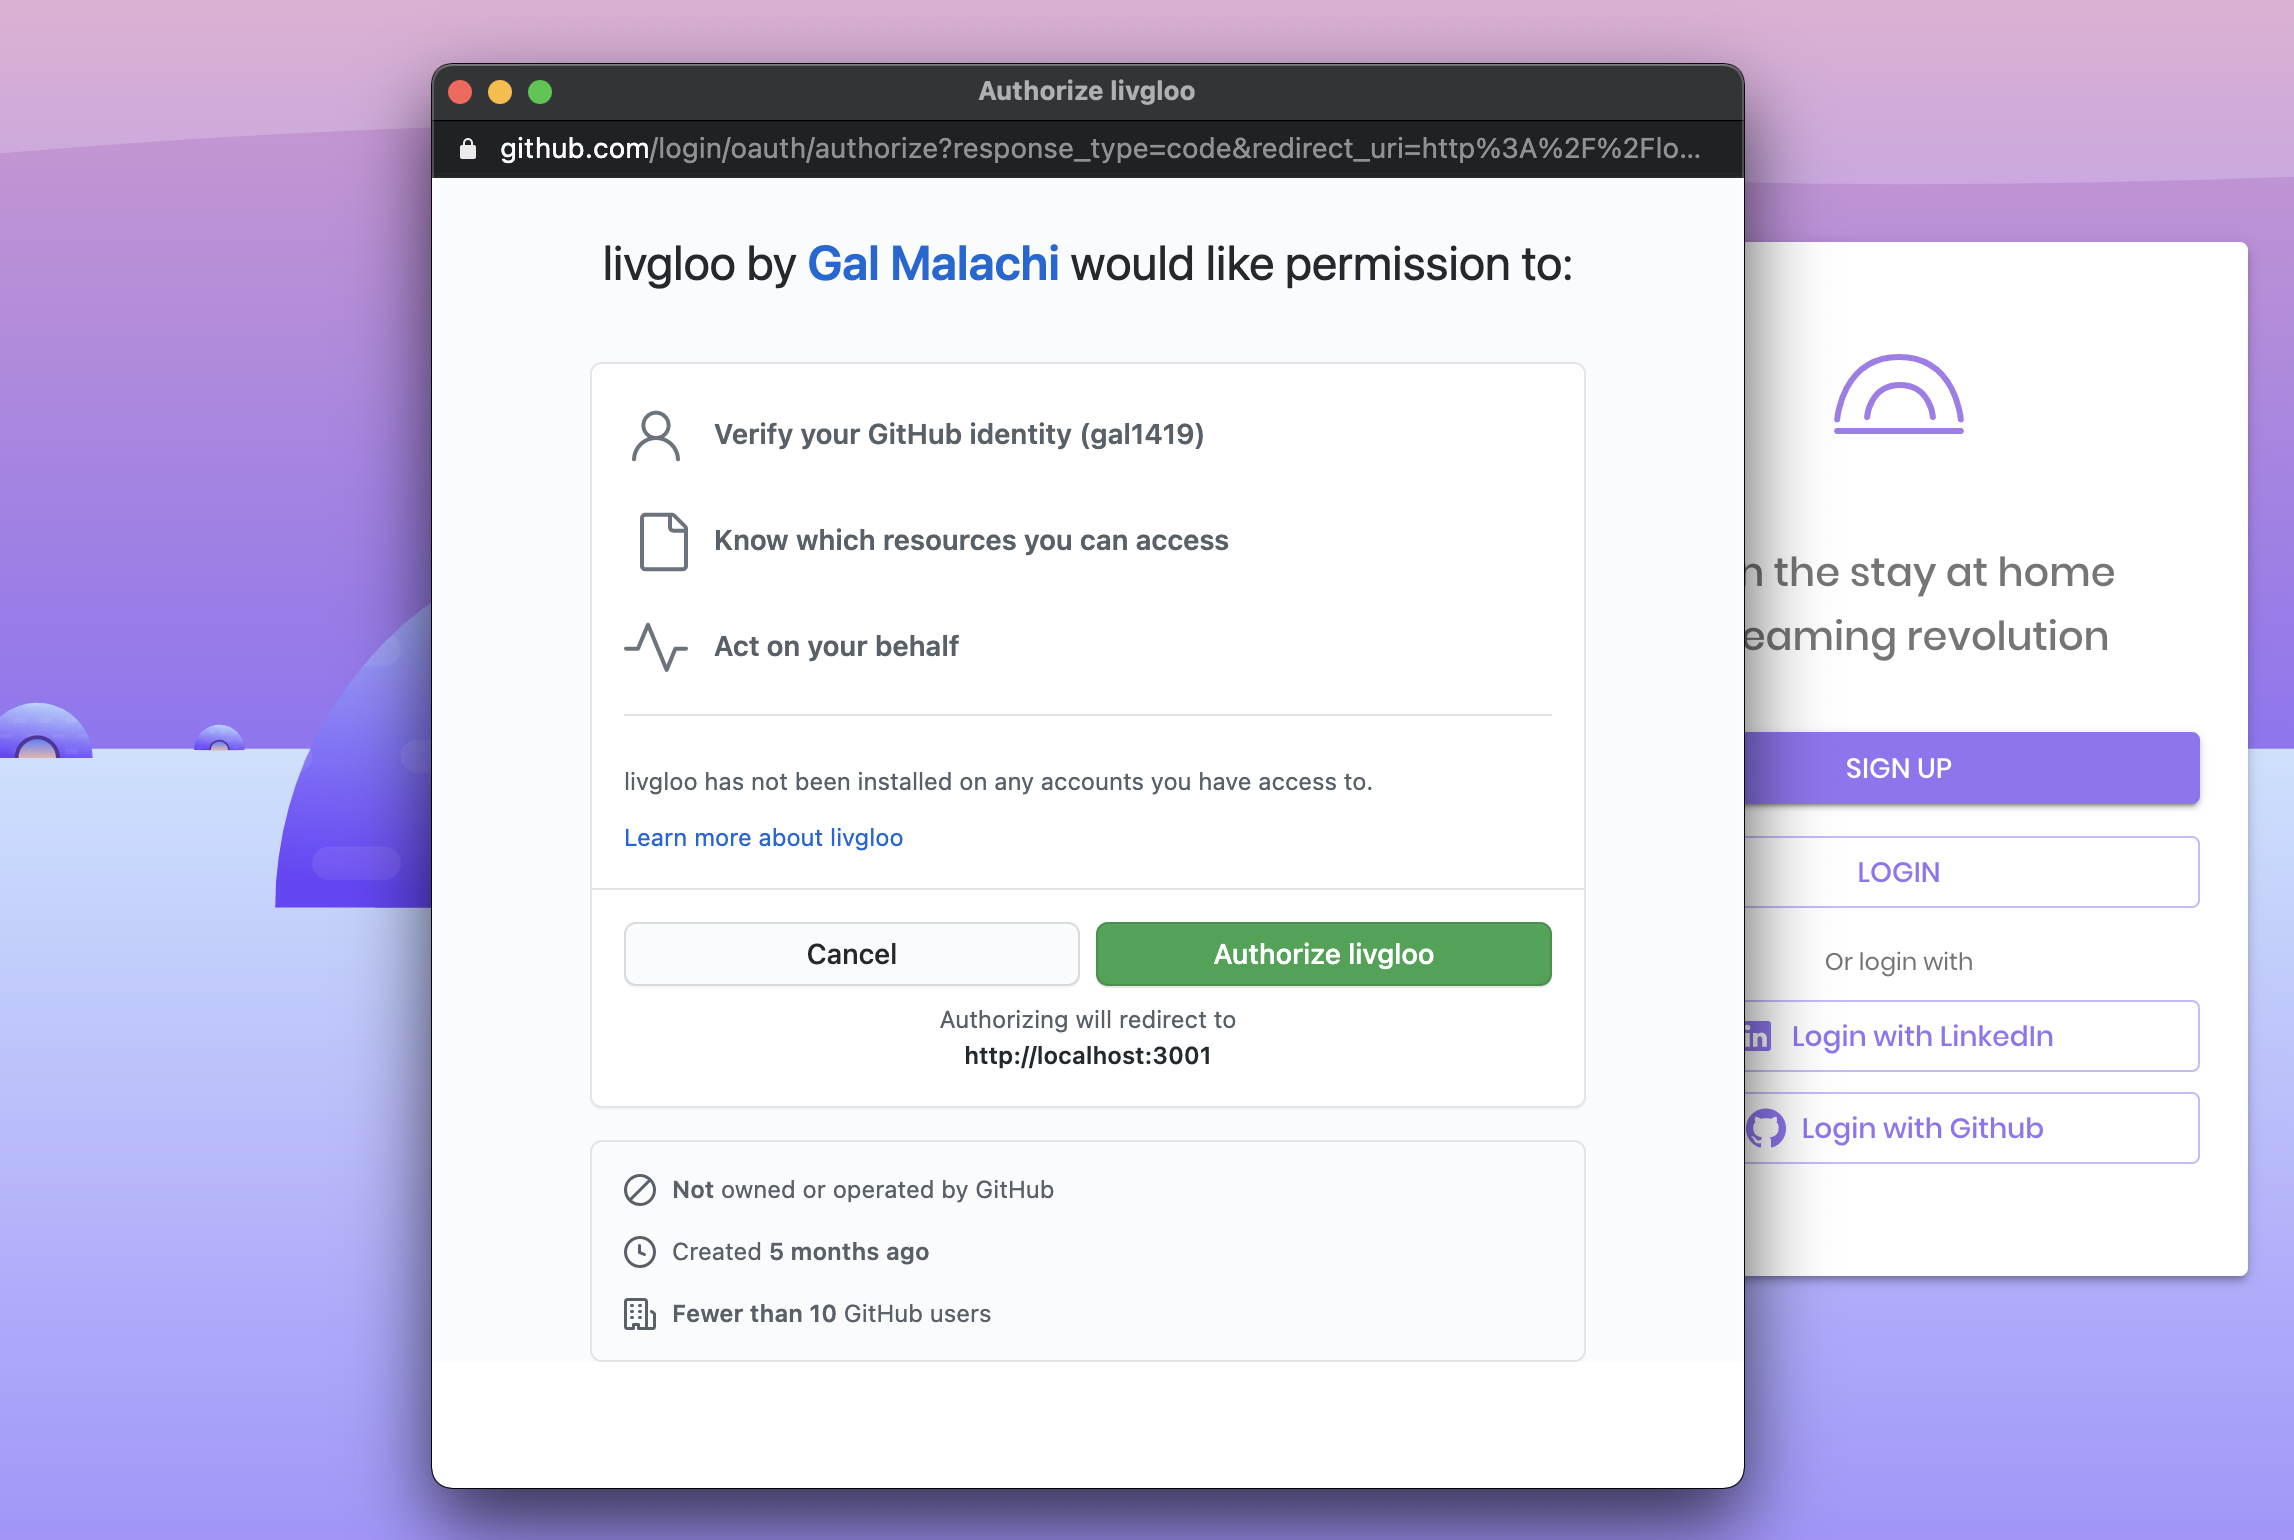
We need to redirect our user to the provider's website, but we want to give the user the feeling they haven't left our application. Since we can't use a regular popup (e.g a floating, absolute div) for redirection, we mimic this experience by opening a new small and centered window that gives the experience we aim for.
// credit to: http://www.xtf.dk/2011/08/center-new-popup-window-even-on.html

export const openCenteredPopup = (url: string, title: string, w: number, h: number) => {
  // Fixes dual-screen position                             Most browsers      Firefox
  const dualScreenLeft = window.screenLeft !== undefined ? window.screenLeft : window.screenX;
  const dualScreenTop = window.screenTop !== undefined ? window.screenTop : window.screenY;

  const width = window.innerWidth
    ? window.innerWidth
    : document.documentElement.clientWidth
    ? document.documentElement.clientWidth
    : window.screen.width;
  const height = window.innerHeight
    ? window.innerHeight
    : document.documentElement.clientHeight
    ? document.documentElement.clientHeight
    : window.screen.height;

  const systemZoom = width / window.screen.availWidth;
  const left = (width - w) / 2 / systemZoom + dualScreenLeft;
  const top = (height - h) / 2 / systemZoom + dualScreenTop;
  const newWindow = window.open(
    url,
    title,
    `
      scrollbars=no,
      toolbar=no,
      location=no,
      directories=no,
      status=no,
      menubar=no,
      resizable=no,
      copyhistory=no,
      width=${w / systemZoom},
      height=${h / systemZoom},
      top=${top},
      left=${left}
      `,
  );

  newWindow?.focus();
};
Redirecting back to our app
Let's start by creating a function that we will use to communicate between the two windows. The authenticateCallback will be called by the popup window right after the authentication process is completed, and right before it disappears. We declare it in the useEffect of our AuthContainer from part 2:
// AuthContainer.ts

  useEffect(() => {
    // add listener for login or logout from other tabs
    window.addEventListener('storage', async (event: WindowEventMap['storage']) => {
      if (event.key === AuthEvents.LOGOUT && isAuthenticated()) {
        await clearToken(false);
        setUser(null);
      } else if (event.key === AuthEvents.LOGIN) {
        refreshToken();
      }
    });

    // add listener for cross-window communication (SSO popup)
    window.authenticateCallback = async function () {
      await refreshToken();
      history.push('/');
    };
  }, [clearToken, history, isAuthenticated, refreshToken]);
When the user completes the authentication on the provider's UI, the provider will redirect it back to our backend. In part 3, we configured the backend to send the authenticated user (+ a refresh token) to the specific route on our frontend: /authentication/redirect.
Recall that at this stage, the user is still in the popup window, therefore, the redirection occurs there!
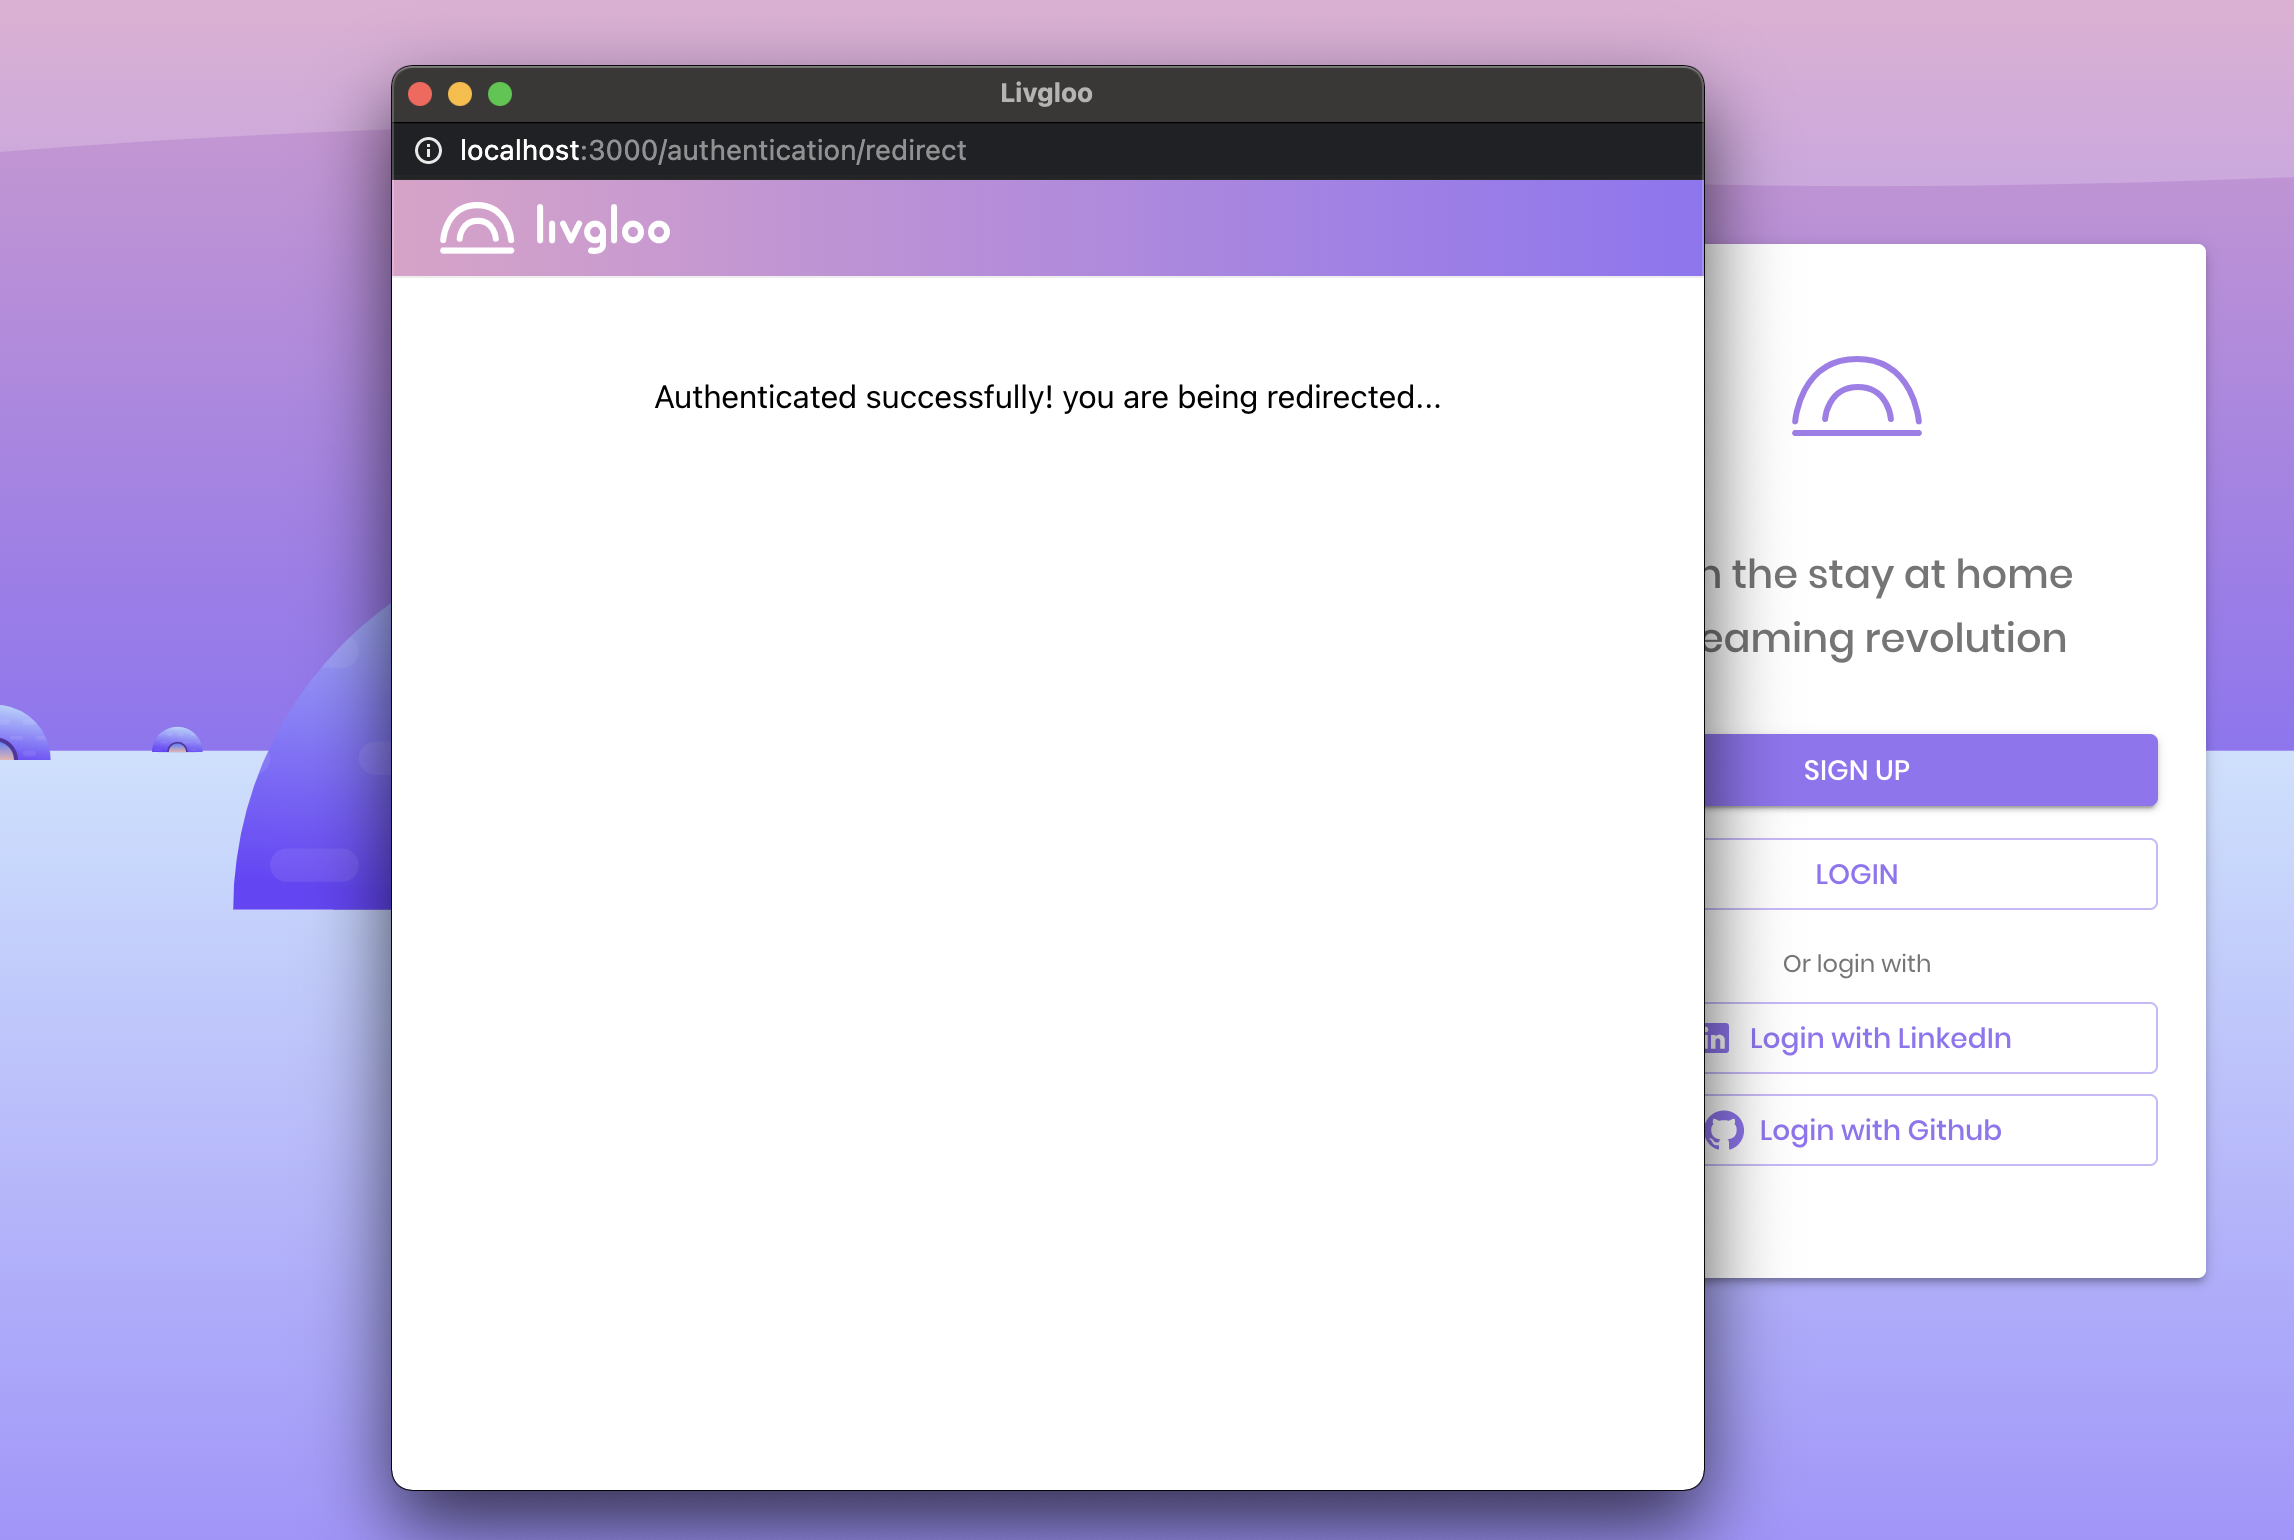
Let's create a small component that will render when this route is accessed; its role is to pass the control back to the caller window, by closing the popup, and notifying that a new refresh token is available by calling the authenticateCallback function we attached to the window object earlier. Notice that we reference the main window using window.opener.
Remember: cookies are available on a domain basis, rather than a particular window. We can be sure that the new refresh token is sent with each new call we make, across all open windows that share the same domain, including our caller window.
// SocialAuthCallback.tsx

import React, { useEffect } from 'react';

export const SocialAuthCallback = () => {
  useEffect(() => {
    setTimeout(() => {
      window.opener.authenticateCallback();
      window.close();
    }, 1000);
  });

  return <div>Authenticated successfully! you are being redirected...</div>;
};
     <Route path="/authentication/redirect" exact component={SocialAuthCallback} />
      // .... rest of applications routes here
Yes! we are done! At this point, the main window fetches a new access token for the user and redirects them back to the homepage. Easy right?
Closing words
That's all for this series. We have covered a lot! If you follow the steps in the series, you should have a working JWT-based authentication in no time! That was a long and exciting journey for me. I hope you enjoyed reading it at least as much I enjoyed writing it. Please let me know what you think by leaving a comment down below.